Hey everyone
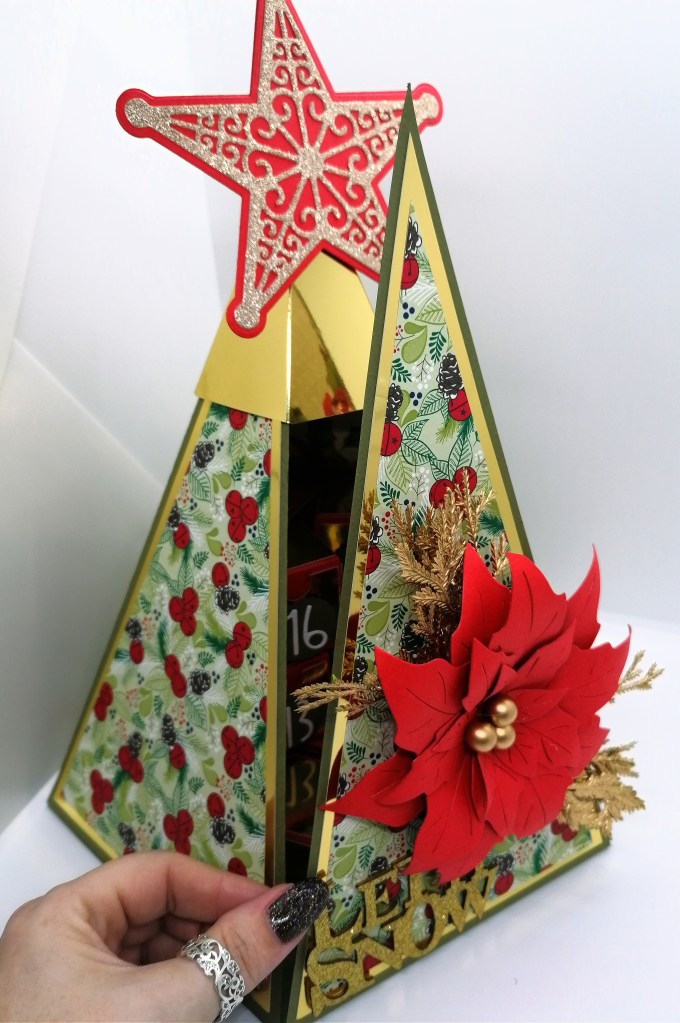
Today I am back with an awesome project!! This is my pyramid advent calendar. I am so proud of this and I thought it up myself. It was a labour of love, not because it’s hard but it’s labour intensive. The boxes are probably the things that take the most time.

The pyramid stand over 12″ tall and is around 6″ wide. I have to say that it looks so much better in ‘real’ life too.

The front panel drops down to reveal all of your advent boxes!

I also made a little ‘stopper’ for the top of the pyramid to keep it closed.
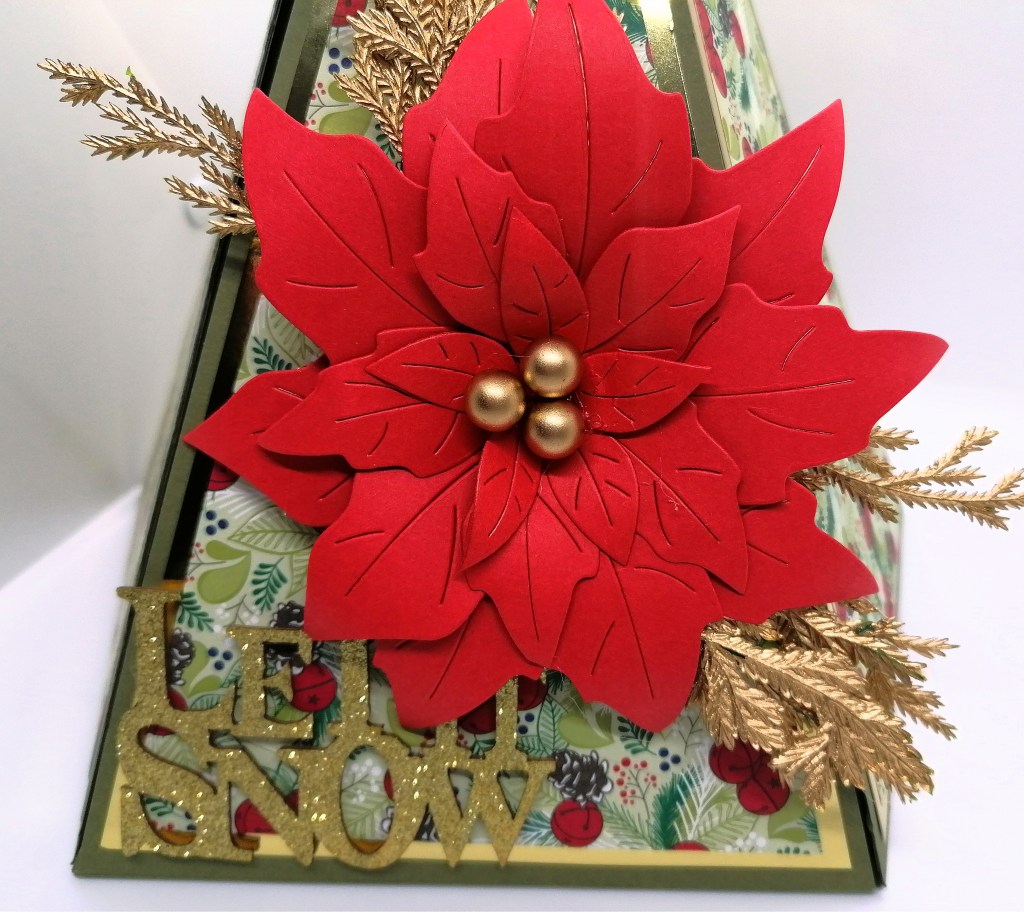
I hope you like what i came up with and will make one yourself this year. Something like this would cost a fortune is a store! It truly is beautiful.
DIMENSIONS:
TRIANGLES
YOU WILL NEED 3 SHEETS OF A4 CARD TO MAKE YOUR TRIANGLES. YOU WILL GET 3 TRIANGLES FROM 1 SHEET OF A4 CARD.
TO MAKE YOUR TRIANGLE TEMPLATE TAKE A PIECE OF CARD WHICH IS 11 1/4″ X 6″
OR 28.5 CM X 15.2 CM
MARK THE TOP OF THE CARD AT 3″ AND DRAW A PENCIL LINE FROM THE BOTTOM CORNERS TO THE TOP 3″ MARK. THIS WILL CREATE YOUR TRIANGLE. DRAW YOUR TAB ON LIKE IN THE VIDEO. DO THIS TO 3 OF THE PIECES.
YOU WILL ALSO NEED TO CREATE A SMALLER TRIANGLE TO DECORATE YOUR PYRAMID. DO THIS AS SHOWN IN THE TUTORIAL.
YOU ALSO NEED 5 HINGES WHICH NEED TO MEASURE 6 X 1″ SCORE IN THE MIDDLE AT 1/2″ ON THE SHORT SIDE. OR 15.2 CM X 2.5 CM
TO MAKE THE BASE CUT A PIECE OF CARD TO 10 1/4″ X 9″ OR 26 CM X 22.8 CM
MEASURE IN 2″ FROM EACH BOTTOM CORNER , MEASURE UP TO 5 5/8″ FROM THE BOTTOM ON EACH SIDE AND ALSO MARK ALONG THE TOP AT 5 1/8″ . JOIN THEM TOGETHER AS SHOWN IN THE TUTORIAL.
BOXES
YOU NEED 24 BOXES
YOUR CARD NEEDS TO MEASURE 6 1/2 X 5″ OR 16.5 CM X 12.7 CM
SCORE THE LONG SIDE AT 1 1/2, 3, 4 1/2 & 6″ OR 3.8 CM, 7.6 CM, 11.4 CM & 15.2 CM
SCORE THE SHORT SIDE AT 1 1/2″, 3″ & 4 1/2″ OR 3.8 CM, 7.6 CM & 11.4 CM
YOU NEED 4 (96 PIECES IN TOTAL)
PIECES OF CARD OR PAPER TO DECORATE EACH BOX. THEY NEED TO MEASURE 1 3/8″ SQUARE OR 3.4 CM
STOPPER
CUT A PIECE OF CARD STOCK TO 1 7/8″ X 3 1/2″ OR 4.7 CM X 8.8CM
MARK THE TOP OF THE SHORT SIDE AT JUST UNDER 1″ OR 2.5CM THEN DRAW A PENCIL LINE FROM EACH BOTTOM CORNER TO THE PENCIL MARK. THIS WILL FORM A TRIANGLE. FOLLOW THE STEPS IN THE TUTORIAL TO MAKE THE REST.
So, there we have it!! I am so looking forward to seeing your versions!!!
I will be back next week with some more tutorials.
Love Ann xxx


Leave a reply to HAZEL YOUNG Cancel reply