
Hi Everyone,
I know that i did the tutorial for this project last week but i really wanted to get a blog post up too. I have meant to post it by now but as usual i have been so busy. A few people have also asked me for written measurements.
Its been lovely to see how many of you have made it! I love seeing other peoples versions. I am so glad that you like it and also find it really useful. Hopefully that will be the end of lost dies 🙂

If you haven’t managed to watch the tutorial yet, you can find the video here: https://www.youtube.com/watch?v=M4bSaRuBKKI
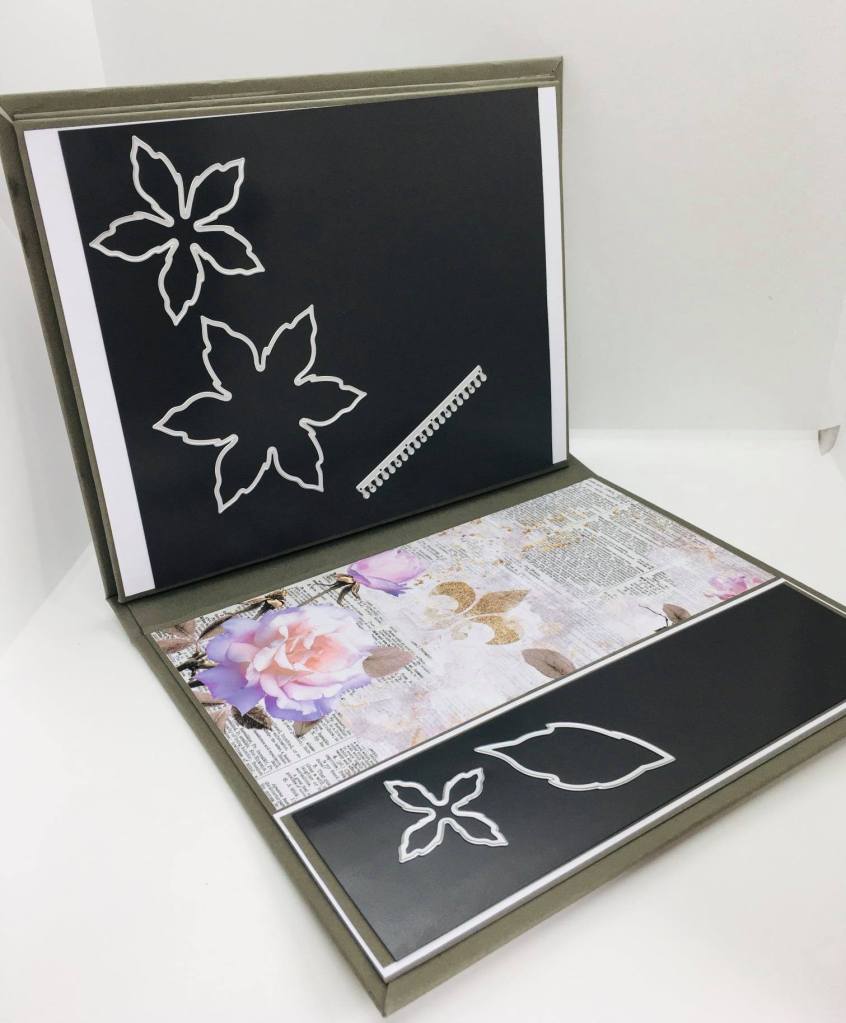
I really do love this and i am so happy with the finished result. Below i will list the measurements that you will need to make this magnetic folder.
DIMENSIONS:
2 x chipboard measuring 8 1/4″ x 10 3/4″ ( front and back)
1 x chipboard measuring 10 3/4″ x 1″ ( spine)
2 x chipboard measuring 10 1/4″ x 8″ ( Glue together)
card measuring 10 1/4″ x 1 1/4″ (hinge) score the short side @ 5/8″
I hope you will have fun creating your magnetic binder!
Happy crafting
Love Ann xx


Leave a reply to Ann Melvin Cancel reply